

The problem
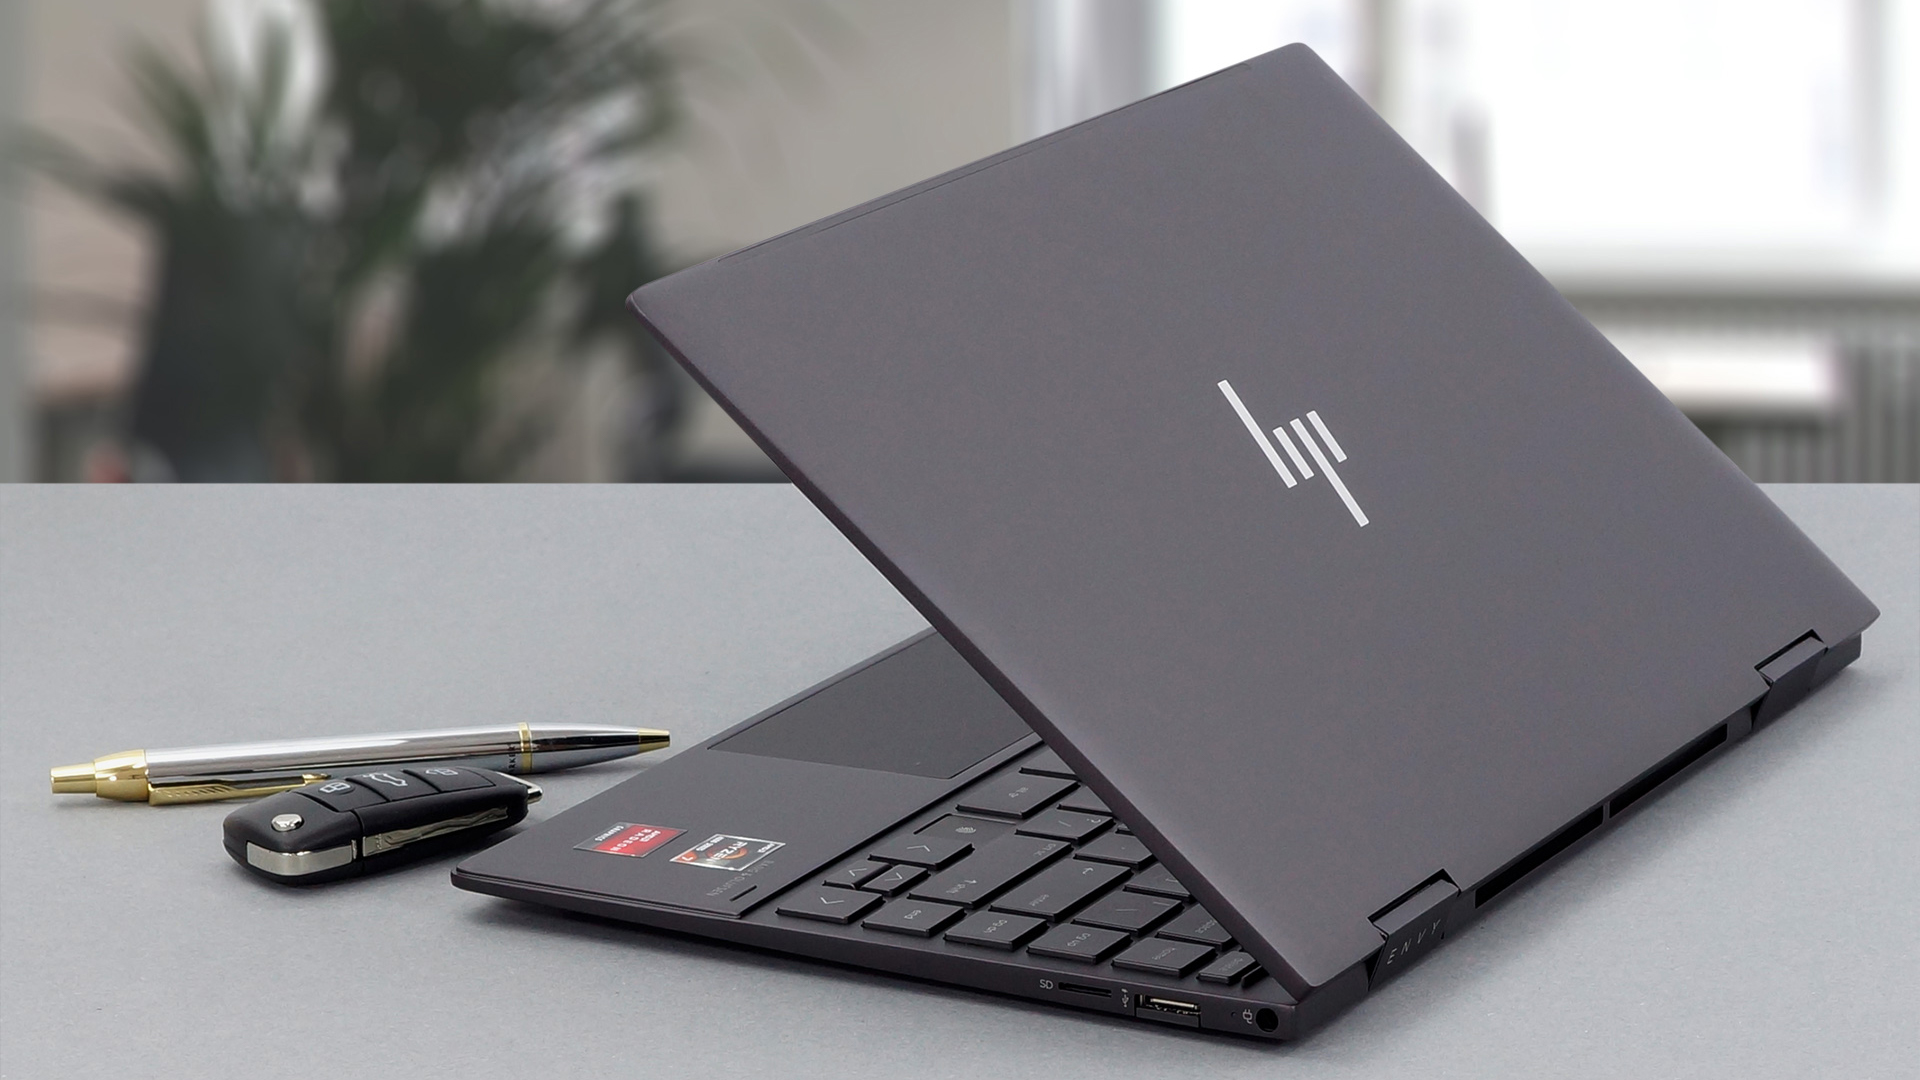
On my laptop, HP gives me four thermal modes through its Command Center app that adjust the power profile of the APU and the fan somehow. However - there’s no custom fan curves or power limits and too often a choice between having a jet engine on your lap or a silent furnace. Also sometimes I wanna boot up a Linux distro - and might even do it more often if it left me with literally any control at all over HP’s profiles.\n\nAFAIK nobody else has done the work for this specific HP platform, so the only way forward was to figure out how HP’s firmware actually does it. The eventual goal: custom fan curves and power limits, - and the ability to control the fan in Linux too.
Step 1: Peeking inside HP Command Center (PowerShell .NET Reflection)
Before touching low-level hardware registers, the smartest place to start is with the software HP already gave us: HP Command Center.
On Windows, HP Command Center runs as a desktop app accompanied by background Windows services. Like many modern OEM utilities, it is built on .NET. The best part about .NET assemblies? You don't even need to download or install external decompiler tools like ILSpy or dnSpy to see what they're doing—you can inspect them directly from an ordinary PowerShell terminal using .NET Reflection.
HP's binaries live in C:\Program Files\WindowsApps\AD2F1837.HPCommandCenter... (and C:\Program Files\HP\). Copying the assemblies to a staging folder ($env:TEMP\hp_thermal), two DLLs immediately stood out:
HPCC.Bg.PerformanceControl.dllHPCC.Cross.CommonLib.dll
Using PowerShell's [System.Reflection.Assembly]::LoadFrom(), we could inspect all exported types, methods, and enums on the fly:
$staging = "$env:TEMP\hp_thermal"
$asm = [System.Reflection.Assembly]::LoadFrom("$staging\HPCC.Cross.CommonLib.dll")

# Find types related to thermal profiles
$asm.GetTypes() | Where-Object { $_.Name -match "ThermalProfile" } | ForEach-Object {
    Write-Host "Found: $($_.FullName)" -ForegroundColor Cyan
    if ($_.IsEnum) {
        [System.Enum]::GetNames($_) | ForEach-Object {
            Write-Host "   $_ = $([int][System.Enum]::Parse($_.GetType(), $_))"
        }
    }
}
When we wanted to see how internal methods operated without a GUI decompiler, we wrote small PowerShell reflection scripts (like decompile-fanlevel.ps1) that read GetMethodBody().GetILAsByteArray(), resolving string and method tokens ($module.ResolveString(), $module.ResolveMethod()) directly in the console.
This revealed the exact plumbing HP uses to communicate with motherboard firmware. Instead of talking to hardware ports directly, the app talks to WMI (Windows Management Instrumentation)—Windows' standard communication system that lets software interact with kernel drivers and firmware.
Inside HPCC.Cross.CommonLib, in the class SysInfoHsaClient.Wmi.HpBiosCommand, we struck gold:
- The WMI Interface: It queries the namespace
root\wmi, targeting the classhpqBIntMand invoking the methodhpqBIOSInt4. - The Handshake Signature: Every call requires a 4-byte ASCII signature:
"SECU". Without this exact magic string in the request header, the BIOS immediately rejects the call. - The Feature Code: Thermal profile control is handled by CommandType
0x4C. - The Mode Enumeration: The decompiled enum
ThermalProfileModeEnumlaid out the firmware's internal values:0= Performance1= Recommended (Default)2= Cool3= Quiet4= PowerSaving (rejected on this AMD board; an Intel-specific DPTF feature)
Interestingly, HP’s frontend UI uses a completely different enum internally (Default = 0, Performance = 1) when writing to its state tracking registry key (HKCU:\Software\HP\OMEN Ally\PerformanceControl). But whenever it talks to the BIOS over WMI, it translates them to Performance = 0 and Recommended = 1.
Because WMI is a native Windows feature, we don't need HP's app installed or running to use it. We can read and change HP thermal modes directly from an Administrator PowerShell console:
# Query the active HP Thermal Profile via WMI
$instance = Get-CimInstance -Namespace "root\wmi" -ClassName "hpqBIntM"
$inData = New-CimInstance -ClassName "hpqBDataIn" -Namespace "root\wmi" -ClientOnly -Property @{
    Sign        = [System.Text.Encoding]::ASCII.GetBytes("SECU")
    Command     = 1      # 1 = Query / Get, 2 = Set
    CommandType = 0x4C   # Thermal Profile Feature
    Size        = 4
    hpqBData    = @(0, 0, 0, 0)
}

$result = Invoke-CimMethod -InputObject $instance -MethodName "hpqBIOSInt4" -Arguments @{ InData = $inData }
$modeId = $result.OutData.Data[0]

$modes = @{ 0 = "Performance"; 1 = "Recommended"; 2 = "Cool"; 3 = "Quiet" }
Write-Host "Active HP Profile: $($modes[$modeId]) (Raw Value: $modeId)"
To switch profiles on the fly without ever opening HP's software, just change Command to 2 and pass the mode ID in the payload:
# Switch to 'Cool' mode (Value = 2)
$inData.Command = 2
$inData.hpqBData = @(2, 0, 0, 0)
$setResult = Invoke-CimMethod -InputObject $instance -MethodName "hpqBIOSInt4" -Arguments @{ InData = $inData }

if ($setResult.OutData.rwReturnCode -eq 0) {
    Write-Host "Successfully switched to Cool mode!" -ForegroundColor Green
}
We now had clean, driverless control over HP's official profiles from our own code.
Step 2: Hijacking the Keyboard Button (EventID 29)
The ENVY x360 keyboard has a dedicated physical button on the top row featuring the HP Command Center icon. Out of the box, pressing it launches HP's slow, bloated UWP dashboard. If we were going to replace HP's software with our own lightweight tool, we wanted that physical button to cycle through our custom profiles instead.
When OEM buttons are pressed, the motherboard firmware typically broadcasts an event through WMI. By inspecting HP's event handlers, we found they were listening to the WMI event class root\wmi:hpqBEvnt.
We can write a quick PowerShell event listener to verify this live:
# Listen for HP hardware hotkey events
Register-CimIndicationEvent -Namespace "root\wmi" -ClassName "hpqBEvnt" -SourceIdentifier "HpButtonWatcher"
Write-Host "Listening for HP button presses... (Press Ctrl+C to exit)"

try {
    while ($true) {
        $event = Wait-Event -SourceIdentifier "HpButtonWatcher" -Timeout 1
        if ($event) {
            $eventData = $event.SourceEventArgs.NewEvent
            Write-Host "`n[!] Hardware Event Detected!" -ForegroundColor Cyan
            Write-Host "    EventID:     $($eventData.EventID)"
            Write-Host "    hpqBEvntData: $($eventData.hpqBEvntData)"
            Remove-Event -EventIdentifier $event.EventIdentifier
        }
    }
}
finally {
    Unregister-Event -SourceIdentifier "HpButtonWatcher" -ErrorAction SilentlyContinue
}
Pressing the physical HP key on the keyboard immediately produced:
[!] Hardware Event Detected!
    EventID:     29
    hpqBEvntData: 8614
EventID = 29 fires every single time the button is pressed. By registering a background listener in our own application, we could intercept this event, suppress the default HP application launch, and smoothly cycle through custom thermal envelopes and fan profiles with a clean on-screen toast.
Step 3: Hitting the WMI Dead End (Why Fans Require Hardware Access)
We had profile switching and button capture working seamlessly. But what about direct fan control?
We wanted to define custom fan curves—keeping the fan silent during light coding, and spinning it up progressively as temperatures rise, rather than relying on HP's rigid all-or-nothing presets.
We dug back into the BIOS WMI interface (hpqBIOSInt4) to see if HP exposed fan speed controls. What we found was a tale of two command sets:
- The Telemetry Goldmine (****
CommandType 0x28- GTDC): Calling0x28("Get Thermal Data Command") proved incredibly useful for read-only monitoring:- Request
0: Returns CPU temperature in °C. - Request
1: Returns GPU temperature in °C. - Request
3: Returns the current fan speed as a percentage (FRPM * 100 / 6100 * 100). This meant we could query live CPU temperature and fan percentage natively through Windows without needing any third-party kernel driver!
- Request
- The Fan Control Dead End: Attempting to write fan speeds through WMI hit a brick wall:
- Command
0x27(the logical write counterpart) was completely stubbed in the firmware and returned0xFF(unsupported). - Linux developers have had partial success controlling fans on HP laptops via the
hp-wmikernel module. However, inspecting the Linux source code revealed that Linux relies on a specialized "Gaming" command namespace (Command 0x20008/ "GM"), originally written for HP Omen laptops. - We inspected our laptop's ACPI WMI handler (
WHCM). Our consumer Envy x360 motherboard (876E) only implements commands1,2,0x20002, and0x2000B. The entire Omen gaming namespace does not exist on this machine.
- Command
WMI was capable of selecting HP's four canned profiles, but it was physically incapable of setting a manual fan RPM. If we wanted true fan control, we had to leave WMI behind and talk directly to the hardware running the fan: the Embedded Controller.
Step 4: Reading the Motherboard's Blueprints (ACPI Disassembly)
Every modern laptop motherboard ships with a complete, compiled blueprint of its hardware: the ACPI tables. At boot time, the BIOS hands these tables (the DSDT and multiple SSDTs) to the operating system. They are written in AML (ACPI Machine Language), a bytecode format that describes every motherboard device, thermal zone, and low-level control method.
Instead of poking randomly at hardware and risking motherboard damage, we can decompile these tables and read the names HP's firmware engineers gave to the hardware registers.
You can dump and decompile the ACPI tables using Intel's standard ACPICA tools (acpidump and iasl):
# In PowerShell with ACPICA tools in your path:
acpidump.exe -b -z
iasl.exe -d dsdt.dat
Opening the decompiled dsdt.dsl in a text editor and searching for Device (EC0) brought us directly to the Embedded Controller (EC):
Device (EC0)
{
    Name (_HID, EisaId ("PNP0C09"))  // Standard ACPI Embedded Controller
    Name (_CRS, ResourceTemplate ()
    {
        IO (Decode16, 0x0062, 0x0062, 0x00, 0x01)
        IO (Decode16, 0x0066, 0x0066, 0x00, 0x01)
    })
    ...
The EC communicates through the classic PC architecture ports 0x62 (data) and 0x66 (status/command).
Scrolling down into the EC’s memory map (OperationRegion (ERAM, EmbeddedControl, ...)), we found human-readable field definitions. Firmware engineers generally don't obfuscate these names:
| DSDT Name | EC Offset | Decompiled ACPI Evidence | What it Represents |
|---|---|---|---|
FANE | 0x0F (bit 0) | If (!FANE) { FFAL = 1 } | Fan health / OK flag (Never overwrite!) |
FNSW | 0x0F (bit 3) | Used inside method FSSP | Fan Switch (Manual override mode) |
FRPM | 0x11 | Method FRSP returns FRPM * 100 | Current Fan Speed (stored in hundreds of RPM) |
FNMX | 0x12 | Method FMAX returns FNMX * 100 | Maximum Fan Speed ceiling |
FWPM | 0x14 | Written by method FSSP | Fan Write Target |
CTMP | 0xB0 | TSZ0._TMP calculates 2732 + CTMP * 10 | CPU Temperature in °C |
Method FRSP was particularly revealing:
Method (FRSP, 0, NotSerialized)
{
    Return (Multiply (FRPM, 0x64))
}
0x64 in hex is 100 in decimal. This confirmed that the fan speed register FRPM stores RPM divided by 100. If FRPM reads 0x1D (29 in decimal), the fan is spinning at 2,900 RPM.
Even better, we found a method called FSSP:
Method (FSSP, 1, NotSerialized)
{
    ...
    FWPM = Arg0
    FNSW = 0x01
    ...
}
FSSP took an input value, wrote it to FWPM (0x14), and set FNSW (0x0F bit 3). The catch? A search across the entire DSDT and all SSDTs showed that nothing in the firmware ever called FSSP. It was an uncalled helper function left behind by HP engineers.
It was an incredible clue, but not yet proof. Now we had to test if talking to those registers actually controlled the fan.
Step 5: Safe Hardware Access with PawnIO (Ditching WinRing0)
Talking to I/O ports 0x62 and 0x66 on modern 64-bit Windows requires ring-0 kernel privileges.
Historically, hardware hobbyists used drivers like WinRing0.sys or InpOutx64.sys. However, those ancient drivers are notorious security vulnerabilities (exploited by malware for privilege escalation), are blocked by Windows Defender, and trigger immediate Blue Screens of Death (BSOD) when Windows has HVCI (Hypervisor-Protected Code Integrity) enabled.
To do this safely and sustainably, we used PawnIO. PawnIO is a modern, cryptographically signed driver architecture. Instead of exposing arbitrary physical memory access, it executes small, verified, sandboxed bytecode modules:
LpcACPIEC.bin: A sandboxed module dedicated solely to standard ACPI Embedded Controller communication on ports0x62/0x66.RyzenSMU.bin: A module for interacting with the AMD Ryzen System Management Unit mailbox.
With PawnIO, we can safely query EC registers from the command line:
# Read EC register 0x11 (Current Fan Speed) using PawnIO
.\pawnio.exe run tools\pawnio\LpcACPIEC.bin read 0x11
If the fan is spinning at idle, this returns something like 0x1D (decimal 29 -> 2,900 RPM).
The Dropped Read Quirk
While building a script (ec-read.ps1) to dump the entire 256-byte EC memory space, we encountered an interesting quirk: roughly 5% to 35% of EC read transactions timed out or dropped their response.
This wasn't a bug in our code or PawnIO. It happens because Windows' own native battery and ACPI driver (ACPI.sys) is constantly polling the EC over ports 0x62/0x66 at the same time to check battery levels and power states. When Windows and our tool query the port simultaneously, Windows consumes the response buffer before our tool can read it.
The fix was straightforward: retry on empty read. Because EC status is clean before each transaction, a simple 3-attempt retry loop resulted in 100% reliable reads. (Writes, on the other hand, do not wait for an output buffer, so they never suffered from port contention).
Watching Before Touching
Before writing anything to the EC, we logged the entire 256-byte space to a CSV file (idle-to-load.csv) while exercising the laptop:
- Sitting idle on desktop
- Running a multi-core Cinebench CPU benchmark
- Toggling through HP's Command Center thermal profiles
By comparing the hex dumps across different states, the register map lit up:
- Offset
0x29: Mirrored the active WMI thermal mode (0for Performance,1for Recommended,2for Cool,3for Quiet). - Offsets
0x0Ato0x0D: Updated immediately whenever an HP profile was switched, loading new numeric thresholds. - Offset
0xB0(CTMP): Rose and fell in lockstep with the CPU package temperature. - Offset
0x14(FWPM): Remained stubbornly set to0xFFthroughout automatic operation.
Step 6: Unlocking the Fan (Step-by-Step Experiments)
Writing to an Embedded Controller carries real risk. A rogue write to the wrong register could disable battery charging, scramble power delivery, or stall the cooling fan while the CPU is under load.
To protect the hardware, we established three strict testing rules:
Strict Allowlisting: Our test script (
ec-common.ps1) hard-coded an allowlist allowing writes only to0x14(target speed) and bit 3 of0x0F(FNSW). All other byte offsets threw hard errors.Preserve Surrounding Bits: Register
0x0Fcontains other flags—most crucially bit 0 (FANE), which tells the motherboard whether the fan is healthy. Overwriting0x0Fblindly with0x08would zero outFANE, triggering a critical fan-fault warning (_Q14). We used strict read-modify-write operations:powershell# Safe manual enable: set bit 3 without touching other bits $current = Read-EcByte 0x0F Write-EcByte 0x0F ($current -bor 0x08) # Safe auto restore: clear bit 3 $current = Read-EcByte 0x0F Write-EcByte 0x0F ($current -band (-bnot 0x08))Fail-Safe Cleanup: Every test ran inside a PowerShell
try ... finallyblock. Even if the script crashed, threw an exception, or was interrupted withCtrl+C, thefinallyblock immediately restored automatic EC control.
With our safety harness in place, we executed three progressive experiments:
| Test | Action | Result | What it Proved |
|---|---|---|---|
| Test 1: Write Target Only | Wrote 0x39 (5,700 RPM) to 0x14 while leaving 0x0F alone. | The byte stayed 0x39, but the fan speed didn't budge from 2,900 RPM. | FWPM (0x14) alone is completely inert. |
| Test 2: Strobe / Pulse | Toggled 0x0F bit 3 on, wrote 0x14, then immediately toggled bit 3 off. | The fan speed tachometer (FRPM) flickered for ~1 second, then returned to auto. | FNSW is not a one-time trigger; it is an active state switch. |
| Test 3: Hold Manual Mode | Set 0x0F bit 3 high, wrote 0x39 to 0x14, and held it for 20 seconds. | The fan audibly roared to life! It ramped up to 5,700 RPM, and CPU temperature dropped from 73°C to 68°C. | Full manual fan control achieved. |
When the 20-second test ended, the script cleared bit 3 and wrote 0xFF back to 0x14. Within two seconds, the EC smoothly took over and spun the fan back down to its factory idle speed.
Characterizing the Fan's Physical Limits
With manual control confirmed, we systematically mapped the fan's mechanical behavior:
- The Stall Floor (900 RPM): Stepping the fan down from 2,900 RPM to 2,500, 2,100, 1,700, and 1,300 RPM worked smoothly. However, requesting
0x09(900 RPM) caused the fan motor to stall. The controller began clicking rhythmically as it repeatedly pulsed power trying to overcome rotor inertia. Rule: The software must never command a fan speed below 1,700 RPM (0x11). - The Maximum Ceiling (6,100 RPM): Writing
0x3D(decimal 61) pushed the fan to roughly 6,100 RPM. This matched the constant6100we had spotted earlier in the ACPIGTDCtelemetry method. HP's most aggressive factory mode ("Cool") only runs the fan at 5,700 RPM (0x39), meaning manual control unlocked an extra ~400 RPM of cooling headroom for extreme workloads. - Ramp Rates and Hunting: Commanding large instantaneous speed jumps (e.g. 2,000 RPM to 5,000 RPM) caused the EC's internal PID loop to audibly surge and overshoot before settling. In contrast, changing speeds in small increments of 100 to 200 RPM per second produced a silky-smooth, inaudible transition.
- The Missing Watchdog: We discovered that the EC has no hardware watchdog timer for manual fan control. If your control software crashes or gets killed while
0x0Fbit 3 is enabled, the fan stays locked at that exact RPM forever. It will not automatically return to BIOS control even if the CPU reaches 95°C. Any production tool must handle every exit pathway, crash event, sleep, and shutdown to safely disengage manual mode.
Step 7: Taming the AMD Ryzen APU (The SMU Mailbox)
Fan control was only half the battle. When we examined the EC registers that changed during profile switches (0x0A to 0x0D), the values looked unmistakable:
| Offset | DSDT Field | Quiet Mode | Recommended | Performance | Cool |
|---|---|---|---|---|---|
0x0A | MINL | 10 | 14 | 24 | 8 |
0x0B | FPPT | 18 | 27 | 30 | 15 |
0x0C | SPPT | 12 | 22 | 25 | 10 |
0x0D | SAPU | 36 | 40 | 46 | 38 |
Those numbers (10, 18, 12, 24, 30, 25) are power targets in Watts!
FPPT= Fast Package Power Tracking (burst wattage limit)SPPT= Slow Package Power Tracking (sustained wattage limit)MINL= Sustained / STAPM wattage floorSAPU= Skin-temperature target in °C (part of AMD's Skin Temperature Tracking / STT)
However, writing new numbers to the EC registers 0x0A–0x0C did not alter actual CPU power consumption. That's because the Embedded Controller does not regulate silicon power—the AMD processor's internal SMU (System Management Unit) does.
The SMU is a dedicated coprocessor inside modern AMD Ryzen processors that runs proprietary AMD firmware. It manages core voltages, clock speeds, and thermal throttling. Operating systems talk to the SMU through a hardware mailbox interface called MP1.
Using PawnIO's RyzenSMU.bin module, we dumped the SMU’s live PM Table (Power Management Table) and compared it directly against our EC readings:
# Probe the AMD Ryzen SMU PM Table
.\pawnio.exe run tools\pawnio\RyzenSMU.bin read-pmtable
The relationship was immediate:
- EC register
0x0D(SAPU) exactly matched the SMU PM Table'sAPU Skin Temp Limit(36.0°C in Quiet mode). - The SMU's Fast and Slow PPT limits were exactly 90% of the EC's numbers.
Direct SMU Power Injections
Using PawnIO, we sent custom power commands directly into the SMU mailbox:
- STAPM: 6W
- Slow PPT: 7W
- Fast PPT: 8W
- Thermal Ceiling (Tctl): 70°C
Reading back the SMU PM table showed our custom limits applied instantly: STAPM read 6.0W, Fast PPT read 7.2W, and Slow PPT read 6.3W. Notice the math: 8W * 0.90 = 7.2W and 7W * 0.90 = 6.3W. The SMU enforces a hard 90% platform derate on all fast and slow PPT requests, whether on battery or plugged into AC.
The Sticky 100°C Tctl Trap
During this testing, we uncovered a fascinating firmware quirk that nearly led us down the wrong path:
In one experiment, we tested lowering the CPU temperature limit (Tctl) to 70°C. The processor obediently throttled itself to keep temperatures under 70°C. But when we switched HP profiles back to "Performance", the 70°C limit remained stuck! Even though Performance mode was supposed to allow maximum boost, the CPU throttled at 70°C.
It turned out that HP's firmware profile switcher only writes power limits; it never re-sends the Tctl temperature limit. The 70°C limit we injected followed us into every profile until a complete system reboot cleared the SMU registers.
The true factory default for Tctl across all HP profiles is 100°C. Because HP firmware never re-asserts Tctl, our custom software must explicitly restore Tctl to 100°C whenever leaving a custom profile.
Step 8: Profiling the Factory Modes (AC vs. Battery Quirks)
To build custom profiles that feel native, we measured the exact baseline power envelopes of HP's factory modes on both AC power and Battery from a clean boot:
| Mode | Plugged in (AC) | On Battery (DC) | Skin Temp Limit |
|---|---|---|---|
| Performance | ~28–30W sustained, 27W burst | ~17W sustained, 19.8W burst | 46°C (AC) / 40°C (DC) |
| Recommended | ~15W sustained, 27W burst | ~15W sustained, 19.8W burst | 40°C |
| Cool | 8W sustained, 13.5W burst | 8W sustained, 13.5W burst | 38°C |
| Quiet | 10W sustained, 16.2W burst | 10W sustained, 16.2W burst | 36°C |
The "Performance on Battery" Illusion
The most striking discovery from this table is that HP Performance mode does literally nothing on battery.
When unplugged, HP's firmware restricts "Performance" mode to the exact same wattage limits and skin temperature limit as "Recommended" (~17W sustained). The elevated 28–30W power limit is only active when connected to the AC adapter.
Furthermore, we observed that after switching a profile, the EC's registers (0x0A–0x0C) can lag by up to 10 seconds before updating, even though the SMU applies the new limits within milliseconds. Any application monitoring system state must read directly from the SMU PM table rather than trusting the EC's delayed registers.
Step 9: Building Starcraft Control
With the reverse engineering complete, we combined all the pieces into a single, cohesive application: Starcraft Control, a modern, lightweight system tray application written in C# and .NET 10.
Architecture & Key Features:
- Dedicated 1-Second Control Loop: A single, low-overhead background thread samples hardware sensors once per second. It is the only component in the entire app permitted to write to hardware ports, preventing any race conditions.
- Smooth Fan Ramping: The fan curve engine interpolates the target RPM based on live CPU temperature. Instead of snapping to new speeds, it enforces a maximum slew rate of 150–200 RPM per second, completely eliminating the audible speed surging and hunting of factory curves.
- Hardware Button Integration: The app subscribes to
root\wmi:hpqBEvnt. Tapping the physical HP keyboard button cycles through our custom profiles, accompanied by clean on-screen notifications. - Custom Thermal Profiles:
- Silent Fanless: Clamps APU power to 10W and disables CPU turbo boost. The fan remains completely off until the CPU crosses 65°C. Perfect for silent night reading and web browsing.
- Balanced Daily: Factory power limits with a gentle, linear fan curve that avoids the abrupt spinning of HP's stock firmware.
- Extreme / Unlocked: Unlocks a sustained 35W power limit, 45W Fast PPT, raises the thermal ceiling to 100°C, and locks the fan to 5,700–6,100 RPM for heavy compiling and rendering.
- Fail-Safe Exit Handler: When the app is closed, Windows restarts, or the system goes to sleep, Starcraft Control's cleanup routine executes: it writes
0xFFto0x14and clears bit 3 of0x0F. The fan is safely returned to factory autonomous control under every conceivable shutdown scenario.
Step 10: The Road to Linux (Contributing to hp-wmi & nbfc-linux)
One of the primary motivations for this project was Linux.
On Linux, HP Envy and Pavilion users have historically faced a frustrating dilemma: thermal profile switching worked partially via platform_profile in the hp-wmi kernel module, but fan control was completely absent.
When you inspect the Linux kernel drivers/platform/x86/hp/hp-wmi.c driver, the reason is immediately obvious:
/* hp-wmi fan speed queries */
#define HPWMI_FAN_SPEED_GET_QUERY 0x11
#define HPWMI_FAN_SPEED_MAX_GET_QUERY 0x26
#define HPWMI_FAN_SPEED_MAX_SET_QUERY 0x27
...
hp_wmi_perform_query(HPWMI_FAN_SPEED_MAX_SET_QUERY, HPWMI_GM, ...);
Every single fan function in hp-wmi relies on HPWMI_GM—the Omen Gaming WMI command set (0x20008). Because consumer Envy, Pavilion, and Spectre motherboards do not implement the Omen command namespace, all fan controls fail with error codes on Linux.
The Broader Lineage
While cross-referencing our EC register map with open-source repositories, we discovered something remarkable in the nbfc-linux (NoteBook Fan Control) database: Six other HP laptop families across an 8-year span (2012–2020) share this identical register layout:
- HP 15-BW00x
- Compaq 15-s103tx
- HP ENVY m6 1206dx / Sleekbook / m6-1254eo
- HP Laptop 15s-gr0xxx
All of them use:
- Read Fan Speed: Offset
0x11(FRPM, units of 100 RPM) - Write Fan Speed: Offset
0x14(FWPM, units of 100 RPM) - Manual Override: Offset
0x0F, Bit 3 (FNSW)
This isn't an isolated one-off design; it is a long-standing, battle-tested HP/AMD Embedded Controller architecture.
Next Steps for the Community:
- An
nbfc-linuxProfile: We now have the complete XML configuration specification for NoteBook Fan Control on the HP ENVY x360 13 (876E). Any Linux user can drop this XML into/etc/nbfc/nbfc.jsonto immediately gain manual fan curve control on modern Linux distributions viaec_sys. - Patching
hp-wmi: We are preparing an upstream RFC patch for the Linux kernelhp-wmidriver. Whenhp-wmidetects an AMD platform without theHPWMI_GMgaming command set, it can fall back to the standard ACPI EC ports (0x62/0x66) to expose nativehwmonfan speed sensors and manual PWM control.
What I'd Tell Anyone Reverse Engineering Their Own Laptop
If you are looking at your own laptop's proprietary management software and wishing you had control, here is the roadmap:
- Inspect the OEM software first: Before guessing at registers, inspect the vendor's desktop utilities. If they are .NET, you don't even need a separate decompiler—load the assemblies in PowerShell with .NET Reflection (
[System.Reflection.Assembly]::LoadFrom) to enumerate types, inspect enums, and uncover WMI namespaces, methods, and handshake signatures. - Decompile your ACPI tables: Run
acpidumpandiasl -d dsdt.dat. Search forPNP0C09(the Embedded Controller). The variable names (FRPM,CTMP,FNSW) will give you 80% of your register map for free. - Use safe, signed tools: Never use unmaintained, vulnerable ring-0 drivers like WinRing0 that trigger BSODs under Windows HVCI. Modern signed tools like PawnIO provide safe, sandboxed access to I/O ports.
- Log and correlate before writing: Record full 256-byte EC memory dumps while toggling OEM profiles and running benchmarks. Let the deltas reveal which registers matter.
- Always enforce an allowlist: When testing writes, allowlist only the specific target register and use read-modify-write bitmasks so you never overwrite critical flags like
FANE. - Assume there is no hardware watchdog: Build your software knowing that if it crashes while in manual mode, the fan will stay stuck where you left it. Always implement fail-safe exit hooks.
- Re-measure everything from a cold boot: Test values injected into hardware registers (like our 70°C Tctl limit) can persist across profile changes and trick you into thinking they are factory defaults until a full restart clears them.
Starcraft Control is open source and available on GitHub. Full register documentation, PawnIO scripts, and EC mappings can be found in the repository.